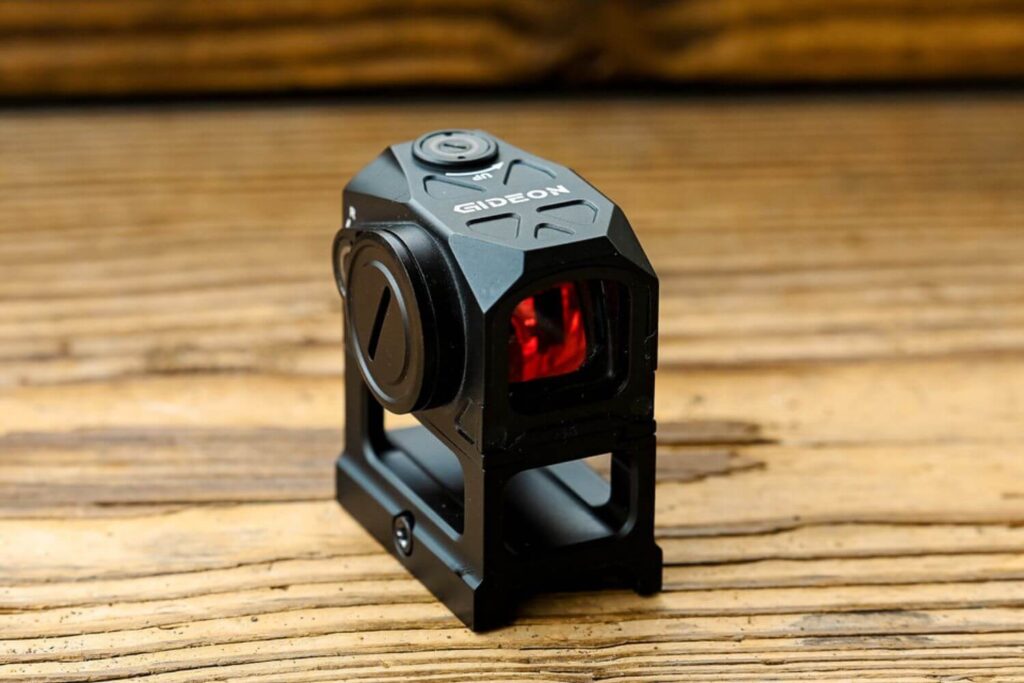
You don’t have to be worried about your ability to mount optics on a gun properly. We’ll walk you through how to install a Gideon Optics Mediator securely using either an absolute co-witness riser or directly to an ACRO pattern slide or adapter plate. The Mediator is a closed-emitter red dot sight, giving you a rugged reflex sight that’s ready for almost any field conditions. Like all of our precision optics, it features innovative technology paired with reliable craftsmanship from a company that stands behind every product we sell. We want to help every gun owner improve their accuracy and precision without breaking the bank.
Unboxing the Mediator
The Mediator comes pre-attached to an absolute co-witness riser that lets you mount optics onto a rifle at a height that places your iron sights in line with the red dot you see looking through the lens. Co-witnessing gives you an accurate way to aim your weapon in adverse lighting conditions or when your optic battery dies unexpectedly. We’ve packed our Shake-to-Awake battery-saving technology into the small aircraft-grade aluminum chassis to extend your battery’s life, and its shockproof, waterproof, and fog-proof design means it’s ready to stand up to real-world use and deliver the performance you can count on.
Before you mount the optic, verify its working condition.
- Use a Coil or Flat Screwdriver to Remove the Battery Cover Plate – To avoid scratches, wrap the included cleaning cloth around either the coin or a screwdriver. Turn the plate on the side of the optic “lefty loosey”, or counterclockwise, to remove it.
- Place a New CR 2032 Battery in the Optic – The battery should be installed with the flat side with the writing facing out, being careful not to damage the teeth that will hold the battery securely in position.
- Re-Install the Battery Cover Plate – Turn the plate “righty tighty”, or clockwise until it’s finger tight, then use the coil or screwdriver to tighten the cover until you begin to feel the O-ring seal compressing.
- Test It Out – Press the brightness up button several times. The reticle should power up and shine brightly as you look through the emitter. Hold it for three seconds to cycle to the next reticle, then three seconds again for the final reticle of the red dot, red circle, and circle-dot patterns.
Now we’re ready to install. If you’d prefer a visual demonstration, take a look at our Mediator installation video to view a step-by-step tutorial:
How to Install the Gideon Optics Mediator with Riser
The included riser adapter is easy to install on any 1913 Picatinny rail. While it would be impossible for a single riser to fit every conceivable gun and sight combination, our riser works well with a range of iron sights, including those found on the popular AR-15 semi-automatic rifle.
- Loosen Rail Mount Screws – On one side of the riser, you’ll see a single screw. Loosening this screw by turning it counterclockwise allows the play needed to mount optics on your rail-equipped firearm.
- Move the Optic into Position – The riser should easily move onto the rail and into its mounting position.
- Tighten the Rail Mount Screw – For a more secure optics mount, put a small amount of forward pressure on the riser as you tighten the screw. This will seat it properly to resist the forces of recoil. Turn the screw clockwise until it’s finger tight, then use the included wrench to tighten it a small amount more.
How to Install a Gideon Optics Mediator on a Slide
The Mediator can also be installed directly onto any slide pre-milled with an ACRO pattern or through the use of an adapter plate, like our MOS to ACRO adapter plate. Removing the slide from the frame can help simplify the installation process.
- Remove the Riser – The ACRO mount is similar in many respects to the 1913 Picatinny Rail optics mount system. Simply locate the screw on the side of the optic and loosen it by turning it counterclockwise until it can be freed from the riser.
- Attach Your Adapter Plate to Your Slide if Needed – The adapter plate should screw into your pre-milled mounting location.
- Attach the Optic to Your Slide – Line up the crossbar on your optic with the crossbar indentation on the footprint. Once in position, finger-tighten the screw on the side of your optic, then apply a small amount of forward pressure as you tighten it just past finger-tight.
- Keep the Riser Safe – Place the riser in a secure location in case you change weapons to a gun with different optics mount needs or simply change your mind about using the riser.

High-Performance Closed Emitter Red Dot
We’re proud to offer cutting-edge optics that don’t break the bank. Sign up for our email newsletter to get the latest news about new products and the firearms industry delivered straight to your inbox. Order the Gideon Optics Mediator and shoot better today.
