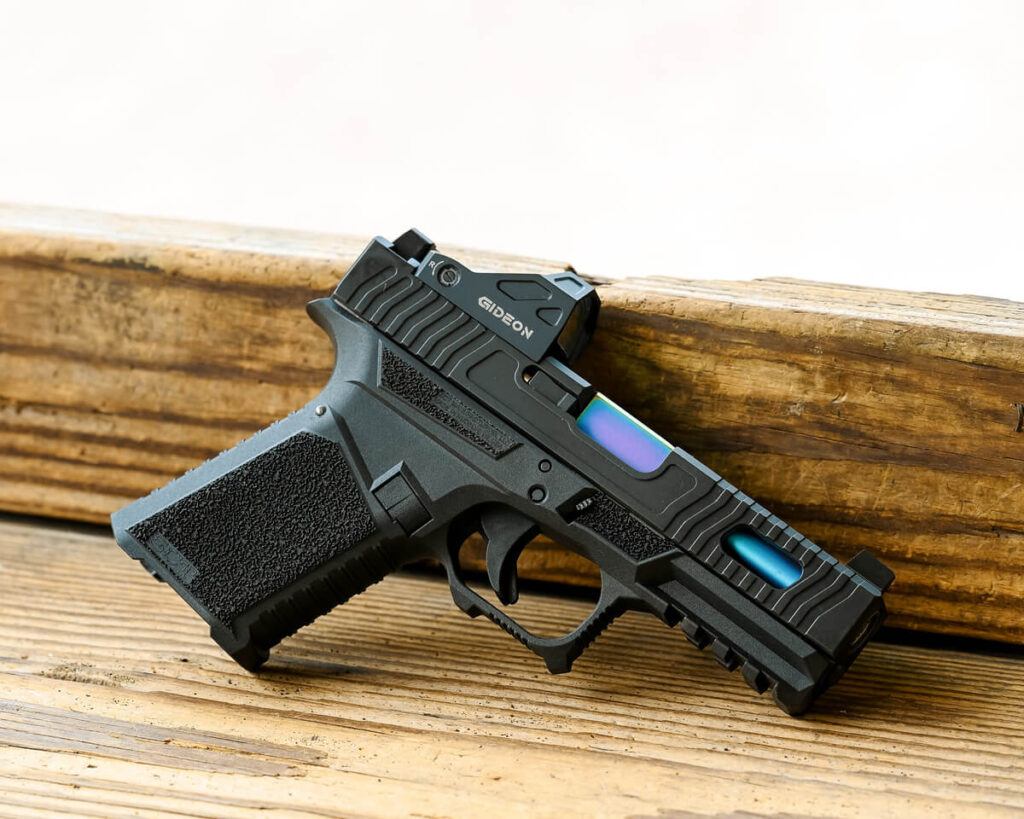
Performance optics help improve accuracy and precision while speeding up target acquisition, making them an incredibly popular custom firearm upgrade. As the popularity of these aftermarket powerhouses has increased, manufacturers have responded. Many of today’s most popular pistols are designed with features that make them “optics ready”, offering a streamlined installation process that gets you out of the workshop and into the field faster. Let’s take a look at what being optics-ready entails, how to make the most of it on your gun, and what to do if your favorite pistol doesn’t meet the criteria of being optics-ready, but you still want to run high-performance optics on it.
Pistol optics have been around longer than there have been optics-ready pistols. In a hobby where the smallest advantages on the range can mean bragging rights while the smallest advantages in the real world can mean life or death, plenty of gun owners chose to mount optics on their handguns anyway, going all the way back to custom telescopic sight mounts. If you wanted to mount these sights, you had to choose between risking the milling process yourself or taking it in for expensive custom work from your local gunsmith. Either one likely voided your warranty, and a slip at the wrong time could leave you with a very expensive paperweight. Many gun owners found that the benefits far outweighed the risks.

What optics-ready means is that your gun has been engineered by the manufacturers to eliminate the need for custom gunsmithing to add high-performance optics. Your optics-ready pistol will have pre-drilled holes in a set pattern that allow you to secure an optic with a compatible mount directly to your weapon. This mount is frequently covered by a small plate that is, itself, held on with a pair of screws, giving your slide clean, unbroken lines in case you decide to forgo aftermarket optics. By pre-milling the slide to accept the precise dimensions of a specific mount pattern, manufacturers not only get to give you a pistol with upgraded features but exercise a degree of control over your optics choice, ensuring an incompatible or sub-standard optic doesn’t make the gun their firearms look bad.
The easiest way to tell if a weapon you own or are considering buying is optics-ready is with a manual inspection. At the rear of the slide, look for pre-milled mount holes, a rabbeted area of the slide where material has been removed to accept a mounting plate (often covered by a mount cover plate), or a rail-type mounting system. These features have been added by the manufacturer to make mounting performance optics fast and easy.
In order to mount optics to an optics-ready pistol, you need your gun, the compatible optic you’ve chosen, an adapter plate if your pistol mount doesn’t match the optic directly, blue thread locker, and the appropriate screwdriver or allen wrench to loosen and tighten the screws supplied by your firearms or optics manufacturer.
If your gun isn’t optics-ready, you have a few options. Each comes with varying degrees of cost, risk to your weapon, and platform stability.

We’re proud to offer high-performance optics for the range, field, or self-defense. Packed with innovative features, our sights are engineered for precise fitment with some of the most popular firearms and mounting patterns on the market. Order your precision optics from Gideon Optics today.
🕛 Ends 5/26 at 11:59pm. No code needed. Not valid with other coupons or discounts.