0

If you want more precision from your reflex optics, you need to know how to zero a red dot sight. Sighting a gun is a foundational skill that every gun owner should know, but with increased quality consistency from manufacturers, more and more owners expect a straight-from-the-box accuracy that allows for tight grouping. While every optic we make ships ready for installation and use, bounces and bumps during shipping, differences in gun geometry, and the wide variety of ammunition weights and powder loads all mean you’ll get far better accuracy and precision after sighting in a gun once new optics are installed.
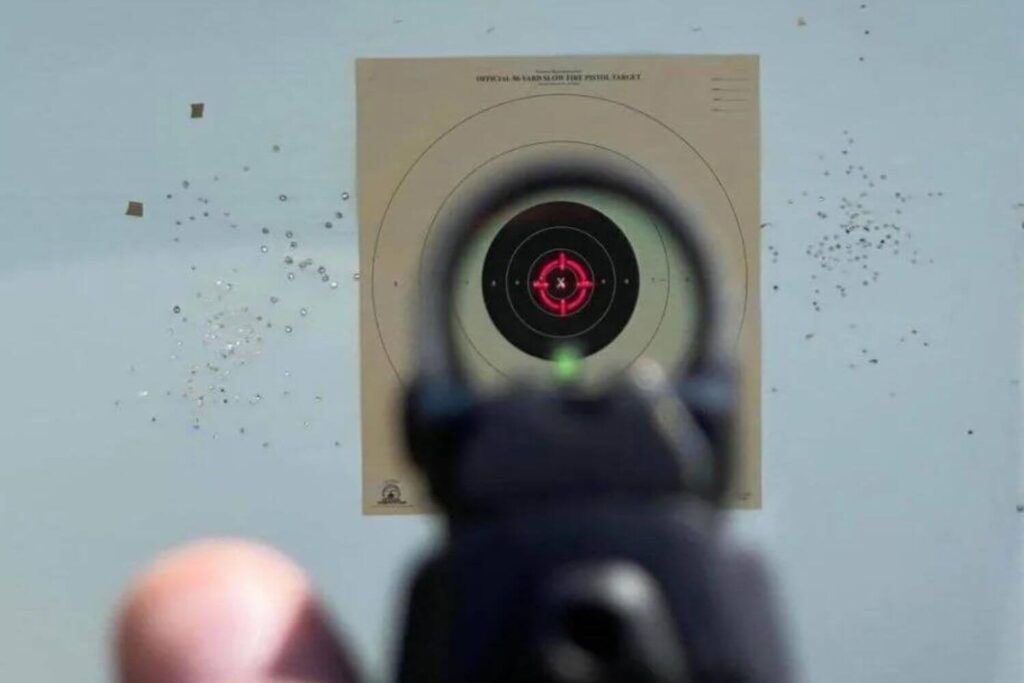
Knowing how to zero a red dot means adjusting your optic so you place your bullet precisely where you aim the reticle–literally creating zero variance between the two. This is important because there are no takebacks when shooting. While a stray shot that misses the paper at the range may not be that big of a deal as long as it ends up in the berm or bullet catch, in self-defense situations, it could be lethal.
Sighting in your weapon means when you develop your sight picture, you can have confidence your round is going right where you want it to, even with the red dot’s lightning-fast target acquisition. You’re still responsible for ensuring the area around and behind your target is clear, but you lower the risk of your shot going wide due to imprecise settings.

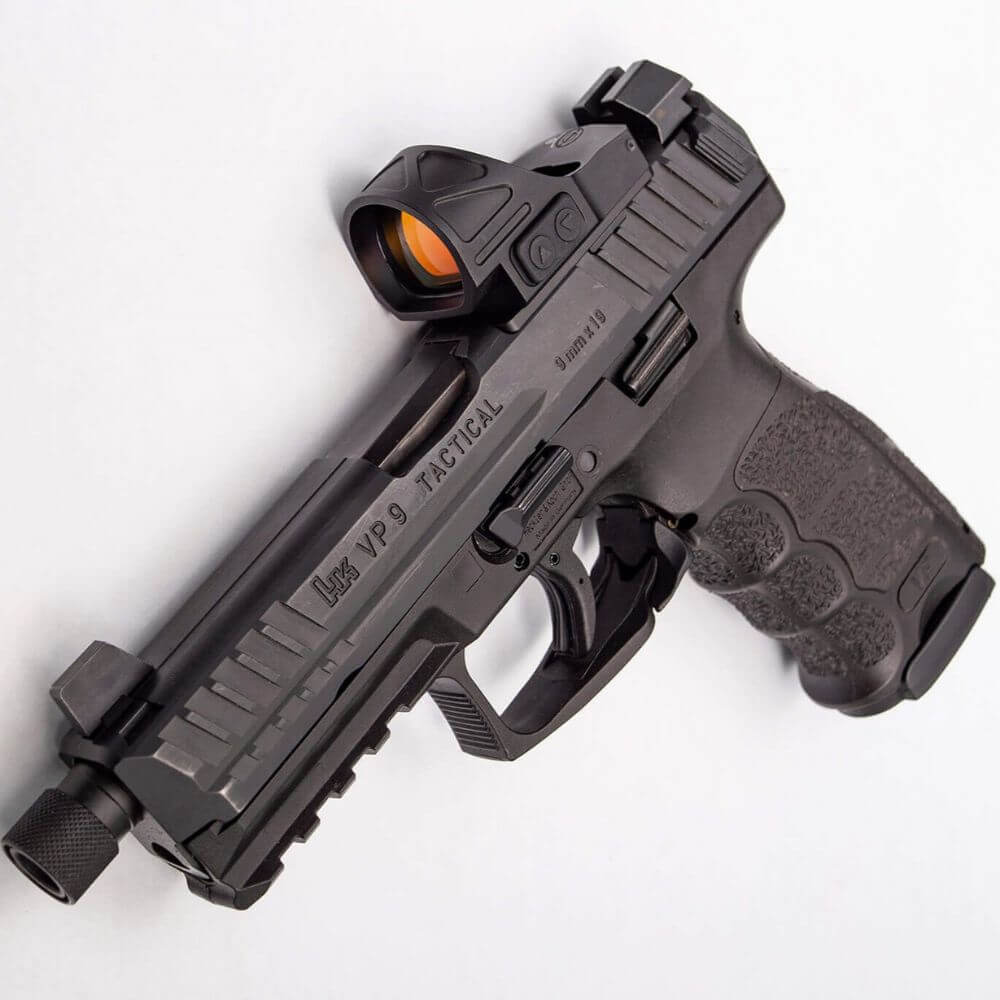
Because knowing how to zero your red dot is so important, most premium red dot sights come with adjustable windage and elevation settings that make sighting in your weapon easier. These adjustments are often made with either button presses or the turn of a knob or turret. Windage adjustment moves your aiming point along the horizontal plane, while elevation adjustments move the reticle vertically. By adjusting both of these, you can adjust your aim point to ensure your gun and ammo combination put your bullet right where it needs to go. These adjustments are often expressed in terms of minute of angle, or MOA.
An MOA is 1/60th of a degree of angle on a circle–in this case, the circle represents the absolute limits created by the full range of adjustment your red dot sight offers. Adjusting windage and elevation MOAs to bring your placement in line with the reticle is how to zero your red dot sight. Viewing these adjustments in terms of MOAs gives you a consistent, reliable way to sight in your gun that works at whatever range you’re sighting the weapon in. You just need to know a few pieces of information.
Once you know these three key pieces of information, you’re ready to get started.
The basic formula you’re going to use, thanks to the MOA system, is this:
Variance (Inches) / (Distance to Target (Yards) / 100)
The first part establishes how far off your shot is vertically or horizontally. While your shot placement probably isn’t either straight up or down or straight side to side from the aim point, you’ll figure out the vertical and horizontal adjustments separately, so don’t measure diagonally. The second part of the equation converts the distance to the target into a fraction or decimal that will convert the variance into an MOA figure.
How to zero in your red dot on a 25-yard pistol range when your shot hits ¾” high, for example, would look something like this.
0.75” / (25yds / 100) = 3 MOA
While most ranges have targets established at intervals labeled in yards, here are a few useful conversions if your range does things differently:

When sighting in your gun, remember to wear your PPE and follow all gun safety and range rules. Remember, until it’s zeroed, you can’t be fully sure where any shot will land, so err on the side of caution, take it slow, and double-check your calculations.
This can be as simple as walking out to the marked yard line and posting your paper outdoors or attaching the target top clips and running it out to the marker on an indoor range. If you aren’t sure of the distance or how to use the range equipment, speak to the range master for a primer.
Different cartridge loads can have different flight profiles, so sighting in a weapon for target rounds may leave your shots wide with hunting or defensive loads. Using the ammo you plan on regularly firing is how to zero your red dot for long-term success.
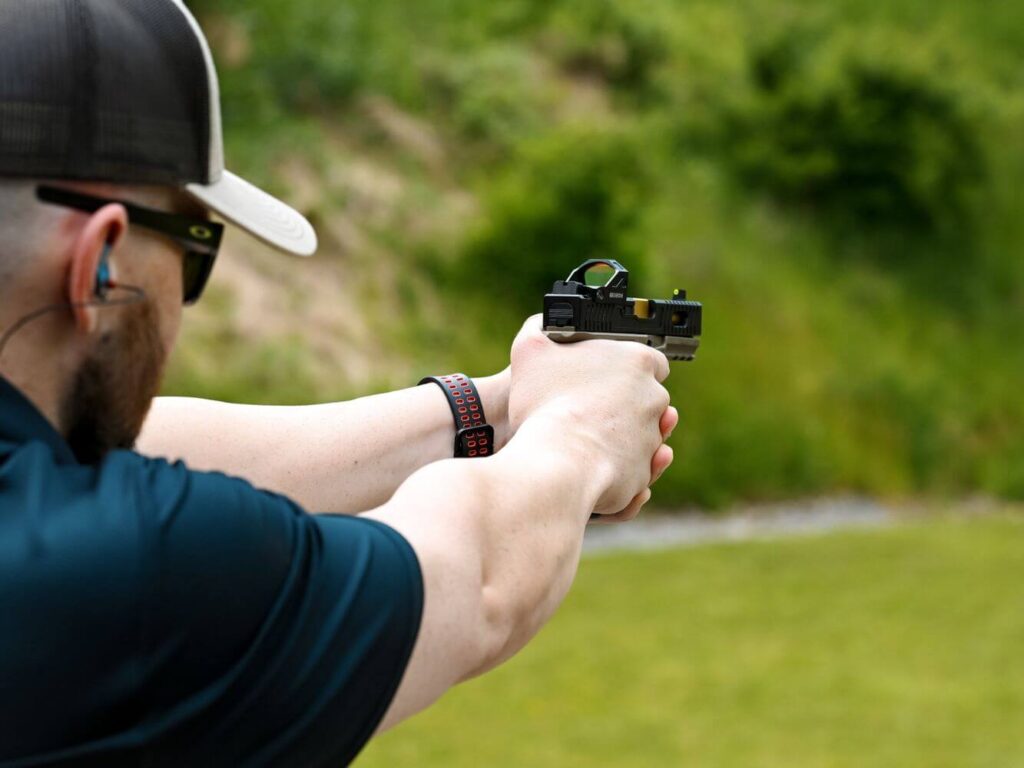
Practicing repeat shot placement comes later, so right now, we’re going to work one round at a time. If possible, use a bench rest or brace yourself to reduce the risk of small movements that may throw off your results.
This may mean bringing your target in, going to it and measuring when the range is cold, or using a spotting scope if your target is marked to allow for visual measurements at a distance. If you’re far off or good at eyeballing measurements, you may be able to get close enough for an initial adjustment, but to truly zero in your red dot, you will eventually need to get close and be precise.
This is open book, and calculators are allowed. Double-check your answers.
Manufacturers design their windage and elevation adjustments for ease of use. As an example, many of our red dot sights adjust the aim point by one MOA per click. A three MOA adjustment takes three clicks.
Multiple adjustments may be needed to fine-tune your aim point, and some weapon and ammo conditions will never be exactly zero. One setting shoots a half MOA low while the next click shoots a half MOA high. Remember that this variance would result in a discrepancy of half an inch at 100 yards, a small amount that could be easily accounted for with proper training and practice with your weapon.
When you need accuracy and precision, red dot sights offer one of the most intuitive paths to faster target acquisition, better shot placement, and tighter groups, but you have to take the time to sight your gun first. While you shouldn’t rush, following our steps for how to zero in your red dot should have you ready for real practice in less than an hour. Sign up for our newsletter to get new product alerts and sales delivered to your inbox. Order your reflex optics from Gideon Optics today.
🕛 Ends 5/26 at 11:59pm. No code needed. Not valid with other coupons or discounts.